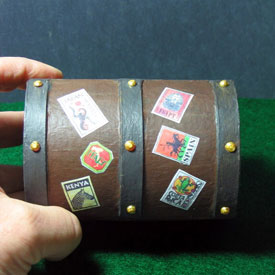
Step 4 - Applying the glue
Apply a liberal amount of glue so that when the sticker is pressed down, glue will sqeeze out in all directions. Use a tool to apply it (here, I'm using a golf tee, which is quite handy for picking up glue).
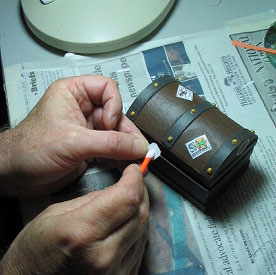
- Applying the glue
Step 5 - Applying the sticker
Gently attach the sticker where you want it on your piece. The liberal amount of glue will help it slide better. DO NOT attach firmly, so that you can rearrange it if necessary.
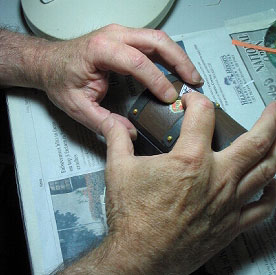
- Applying the sticker
Step 6 - Aligning stickers
Apply another sticker gently to your piece before squeezing down the first sticker. Both will have liberal amounts of glue so that you can adjust their position easily.
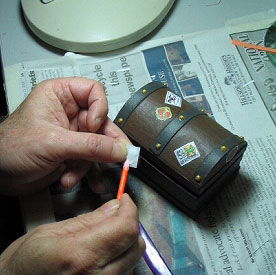
- Aligning the stickers
Step 7 - Completing the applied stickers
Once your stickers are in the desired locations, press them down into place with your finger, forcing out the excess glue. Then wipe off the excess glue, and BURNISH the edges of your stickers. Burnishing rounds the edges down, giving your stickers a much more professional look, and also ensures that all the excess glue is removed from underneath the sticker. Burnish lightly, so as not to tear the sticker.
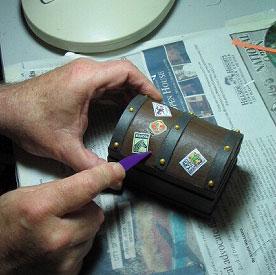
- Completing the stickers
Finished piece
Your stickers or whatever decorative papers you have applied will have a very professional look to them. The edges will be straight, provided you looked down the knife blade and cut with a single stroke, and the edges will be rounded and smoothed, thanks to the burnishing you applied.


