Daisy Flower
You will need:
- 3/8" - 1/2" diameter shirt buttons
- 22 guage wire
- Wire cutters
- Washi paper
- Wallpaper paste
- Elmers or crafter's white glue
- Water colour paints
- Water colour brush (#5 Round)
Making the Stamens

- Cut wire

- Twist

- Paste 'n' Wrap
Cut wire into 7" - 8" lengths. Loop through a button. Twist wire and secure. Tear washi paper into 1" square pieces. Paste and wrap around the button.
Paint the covered button with water colour paint.
Making the Petals
For small petals:

- Hand tear strips
Hand tear 3/4" wide strips of washi paper. To do this, fold the paper as shown in the diagram. It will save time if you moisten the creased area with a damp sponge before separating them.
Put wallpaper paste on both sides. Gather on one end and tear into pieces about 3/8" long.

- Paste both sides

- Tear only - No cutting!
Do not cut ends with scissors - Hand tear only as in A. B shows the difference.
Lay each piece on a plate. Let them dry.

- Leave to dry
For larger petals
Use the same method as with small petals but make them double the length (1 1/2").
Note: Irregular sized petals can make more interesting flowers.
Assembling the flower
Put on a dab of white glue. Attach to the underside of stamen. The number of petals you use will depend on the size of the stamen and petals.
There are no rules about how many petals are needed for each, so go for whatever makes you happy. Double layers of petals? Why not!

- Glue...

- ... stick...

- ... and cover
Colouring
Paint petals, from the centre outwards, in the colour of your choice. Try not to saturate with too much water colour! I like to leave an outer edge unpainted to give more contrast.
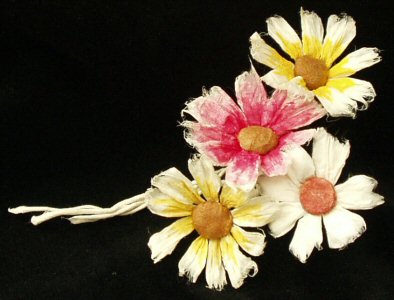
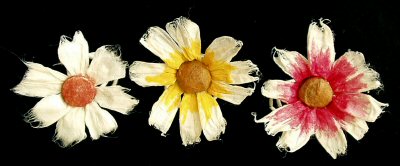
Finished Example...

- Finished Example

- Finished Example
-
- Please visit my site at falkenart.net


